PhotographySafari TipsTravel Tips
Safari Photography Tips: Complete Guide to Capturing Amazing Wildlife Photos
Master safari photography with this comprehensive guide. Learn camera settings, composition techniques, wildlife behavior tips, and equipment recommendations to capture stunning photos on your Tanzania safari.
S
Safari Tanzania TeamApril 27, 2026
17 min read
Safari Magazine•April 2026
Featured Article
Safari Magazine
More from This Issue
Essential reading for safari enthusiasts
Advertisement
Your Safari
Awaits
Experience the magic of Tanzania's wilderness with expert guides and carefully curated itineraries.
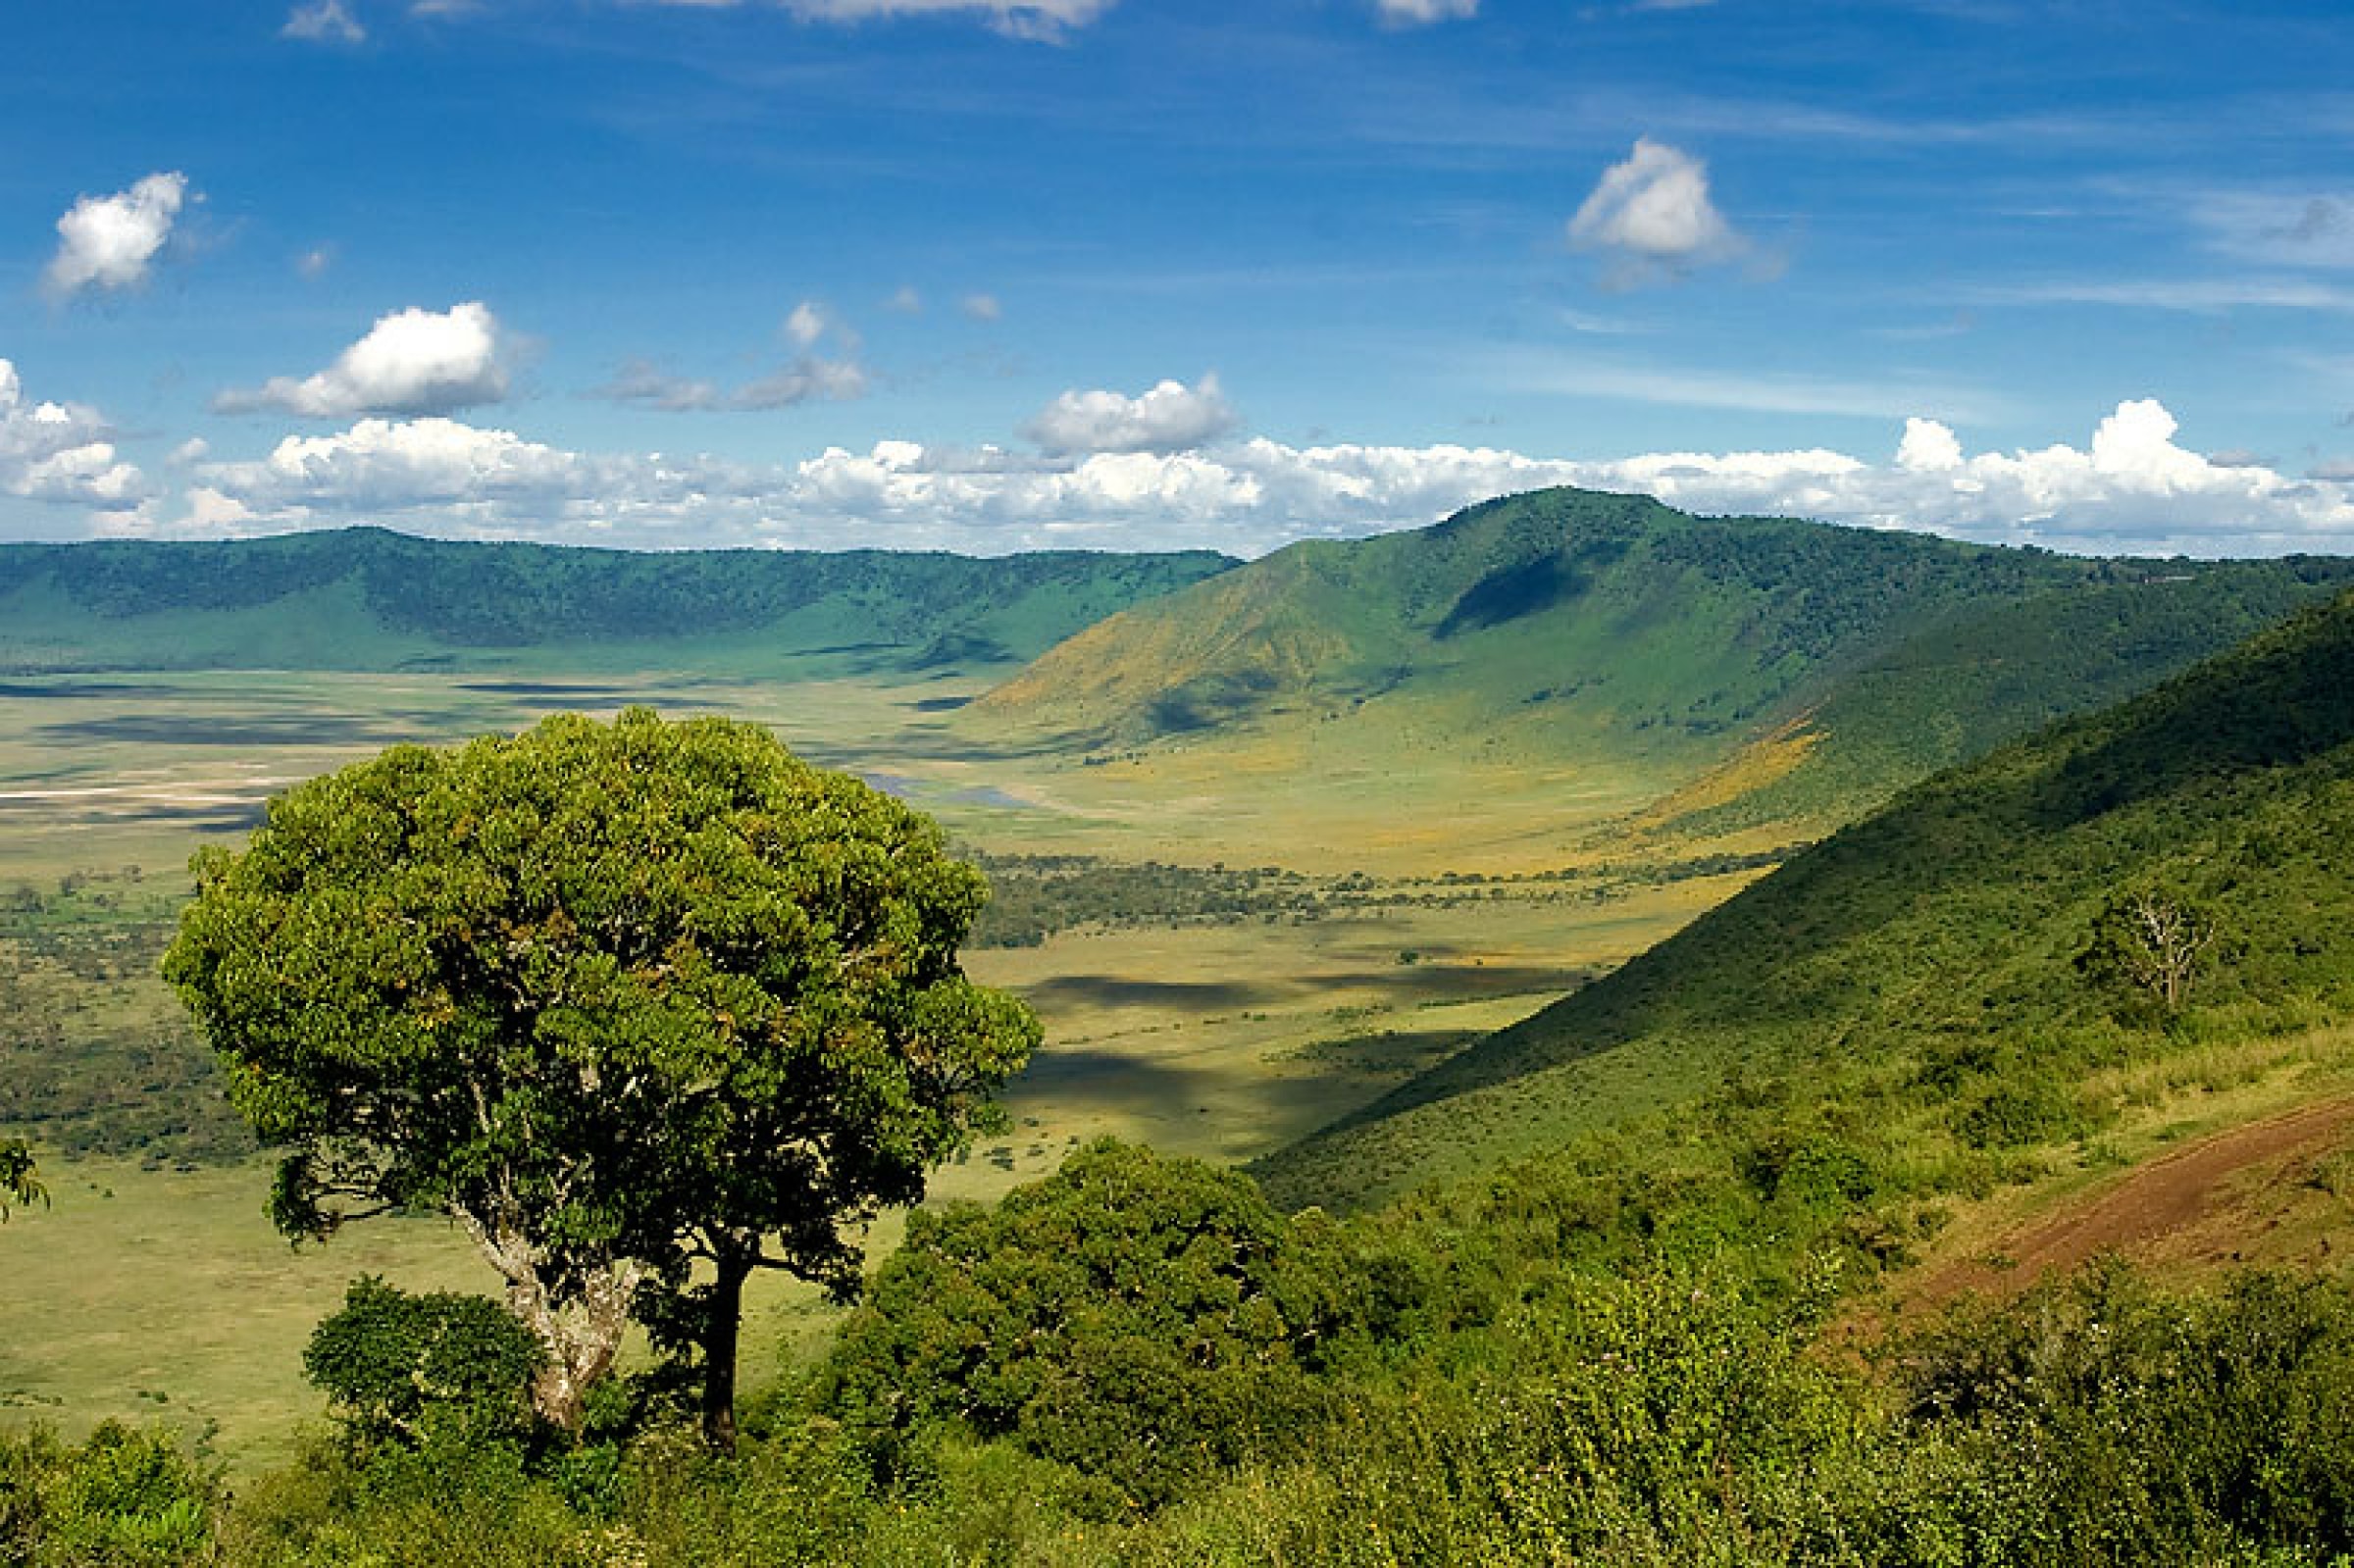
From the Serengeti plains to the Ngorongoro Crater, create memories that last a lifetime.
10+
Years Experience
5000+
Happy Travelers
50+
Safari Packages
4.9★
Average Rating